The holiday season is a time of magic and sparkle — and even the most conservative nail wearers among us have a hard time passing up a touch of glitter once the holidays arrive. There's just something about those brilliant, shimmering particles that we can't say no to! Here, we'll explore our favorite styles, colors, and techniques to achieve the perfect glittery manicure for the holidays.
Festive Flair
From twinkling lights to glittery decorations, this is the time of year where everything seems to glow — why not nails, too? One of the best things about glitter is that it tends to be more durable and chip-resistant than cream colors due to the added texture, which is great for lengthening the wear of a manicure during this busy season. And on toes? It's not going anywhere until the New Year! When it comes to color, there are two camps: traditional and contemporary. Obviously, the customary colors of the season include red, green, gold, blue and silver, which are all quite beautiful and statement-making on their own. There's something so classically understated in a dazzling red nail. But if those typical shades are too predictable, try experimenting with more adventurous hues, like glitter white, ice blue, navy, turquoise and even light pink. Truly, any color works; glitter is the ultimate holiday glam accessory, after all!
Versatility
Because glitter is so impactful, you can reach stare-worthy status simply by offering a hint of sparkle (as well as going all out, of course). For those who err on the side of less is more, try a single accent nail coated in glitter, or create a subtle gradient with glitter relegated to the free edge only. Even a light dusting of fine sparkle over a nude hue is quite beautiful. Or for those who are too fearful of flaunting flecks on their fingertips, a full glitter pedicure will add a pop of shine to any open-toe shoe. Now, for those who are willing to bedazzle their tips, there is much fun to be had! While a classic one-color glitter manicure is sure to make an impact, you can up the ante by incorporating multiple colors and art. Use a high-density glitter as the backdrop to cream-based nail art (think: a silver base with a creamy white or even black French tip or holiday designs). Use multiple shades of glitter to create an ombre effect, or even add it as an accent to your favorite holiday nail art. A super-sparkly snowman, anyone?
Techniques
Probably the best part about shiny nails is that there are countless products and techniques to achieve different looks. There are your
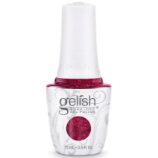
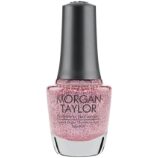
standard nail coatings infused with pearlescent shimmer and glitter, like Morgan Taylor Lacquer, Gelish Gel Polish and Gelish Xpress Dip
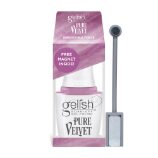
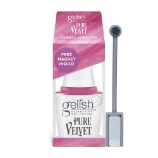
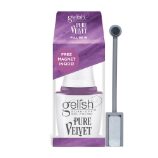
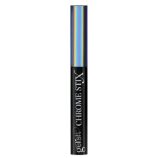
N Brush. You can also impart sparkle and shine using magnetic Pure Velvet Cat Eye Magnet Gel, Chrome Stix, even fine loose glitter, all
of which create subtly different shine effects depending on what you're looking for. Here, we'll show you two of our favorite looks
featuring Xpress Dip N Brush and Pure Velvet Cat Eye Magnet Gel.
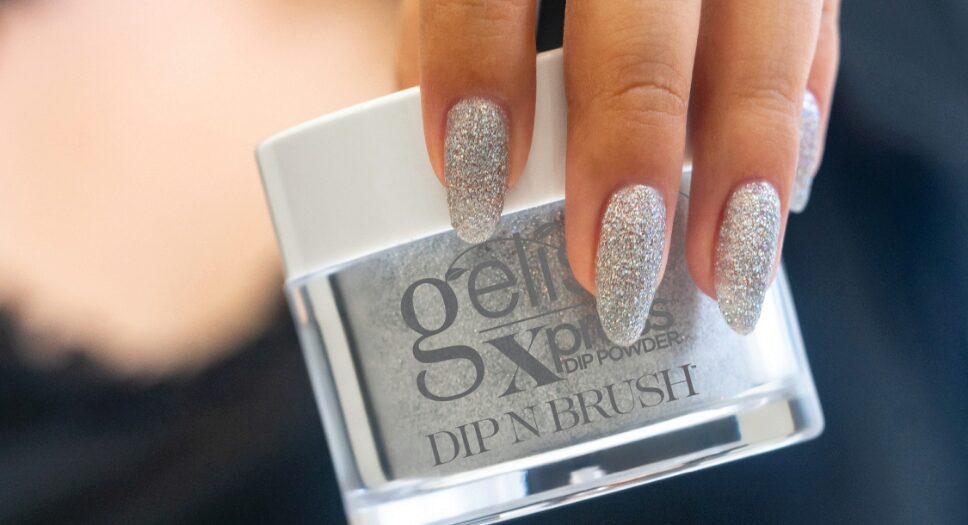
Simply Sparkling Red
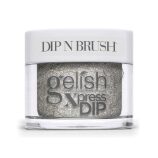
Tools: Gelish Xpress Dip N Brush in Fame Game
Utilize Gelish Xpress Dip N Brush to create a stunning sparkling red manicure that's sure to hold up through all the holiday hustle and bustle.
- Prepare nails by filing the free edge, pushing back cuticles and gently removing the shine from the surface of the nail. Remove any remaining dust with Gelish Nail Surface Cleanse. Then, apply a thin coat of Dip Prep to the nails.
- Working on one nail at a time, apply a thin and even coat of Dip Base Coat to the nail, starting 2/3 of the way down the nail. Immediately dip the nail into Fame Game Xpress Dip N Brush powder at a 45-degree angle (or pour over the nail, just make sure there's something underneath to catch the fallout). Gently tap off the excess powder.
- Repeat with a second layer of Base Coat that covers the entire nail (avoiding the cuticle area) and dip into the powder again, making sure to cap the free edge to avoid chipping. Tap off excess powder.
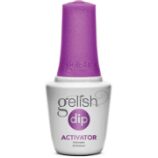
- Next, apply a thin layer of Dip Activator to the nail, making sure to coat the entire nail, and allow it to dry. Then, apply a thin layer of Base Coat to the nail.
- Before finishing the nail, smooth any lumps or bumps with a buffing file; glitter can be quite unforgiving once the light hits it, highlighting any imperfections on the nail. Remove any residue with a clean lint-free wipe and Nail Surface Cleanse.
- Apply another thin layer of Activator, and wait 20 seconds for it to dry. Use a clean lint-free pad to remove any excess Activator, then finish with two coats of Dip Top Coat, allowing the first layer to dry before applying the second. And don't forget the cuticle oil!
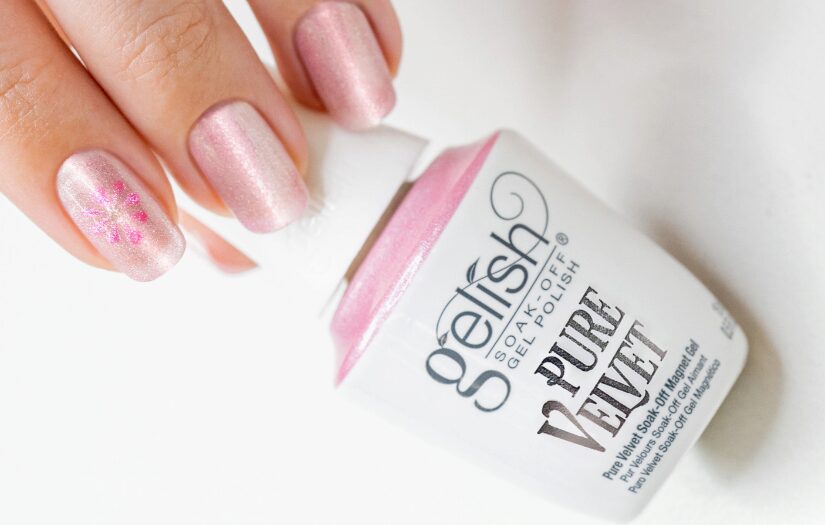
Peekaboo Sparkle
Tools: Pure Velvet Cat Eye Magnet Gel and Detail Brush
Create a subtle design hidden within magnetic Pure Velvet Cat Eye Magnet Gel that will make you the star of every holiday party.
- Prep the nail by filing the free edge, pushing back cuticles and lightly buffing the surface of the nail to remove shine. Remove any remaining dust and debris with Gelish Nail Surface Cleanse.
- Apply a thin coat of Gelish Foundation Soak-Off Gel, and cure for 5 seconds under an LED light.
- Apply one coat of Gelish Pure Velvet Cat Eye Magnet Gel in the color of your choice. While the gel is still wet, hold the rectangular magnet at the free edge, moving it around the perimeter of the nail. Cure for 30 seconds.
- Use the same Pure Velvet Cat Eye Magnet Gel color and a detail brush to create a design at the center of the nail. The simpler the design, the bigger the impact, think: a heart, star, candy cane or tree. Hold the magnet on one side of the design to push the glitter particles. Then cure for 30 seconds.
- Finish with Gelish Top It Off, and cure for 30 seconds. Remove the tacky layer by soaking a Wipe It Off lint-free wipe in Nail Surface Cleanser and wipe the nail clean.


